Cutting Fabric using a Cricut Explore Air
Cutting Fabric using a Cricut Explore Air
Today I'm sharing some tricks and tips I learned when personalizing my son's Elementary Tote (tutorial). I purchased a Cricut Explore Air last Fall and I have cut all sorts of things out of paper with it, but I hadn't been successful with fabric. For those of you that aren't familiar with Cricut, this is a personal cutting machine. I use my computer to design what I'd like cut, and the machine cuts it! I bought the Explore Air version that allows cutting via BlueTooth, so I don't have to have my computer plugged into my machine.
I tried a lot of different things when it came to cutting fabric: plain fabric stuck to my mat, using freezer paper on the back of the fabric, using freezer paper on the front and back of my fabric, using Heat n Bond Lite on the back of my fabric. Honestly, I didn't have success with any of those techniques. I almost gave up, but I'm glad I persevered because I found the magic combination!
Cutting Fabric using a Cricut Explore Air
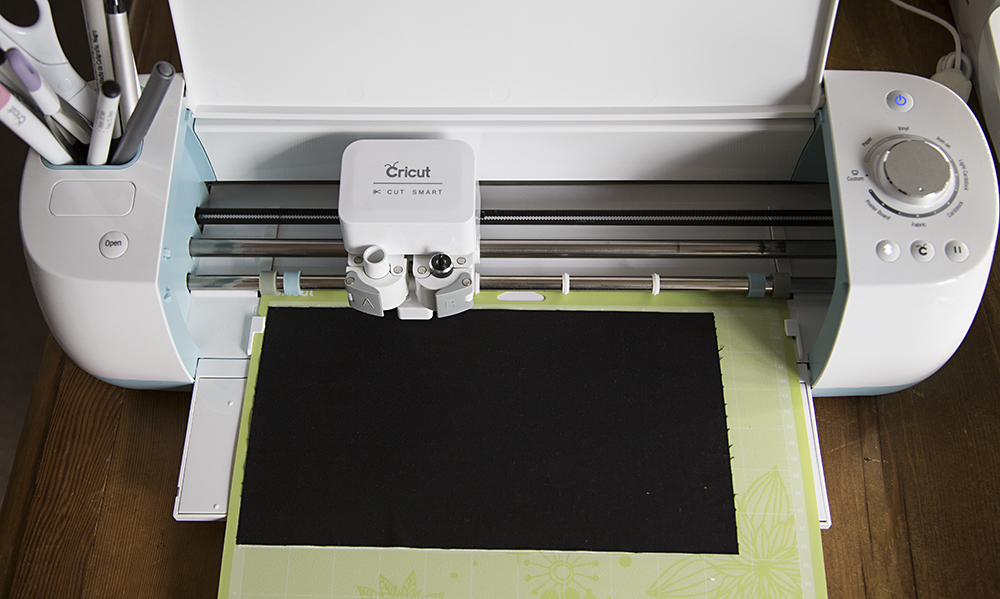
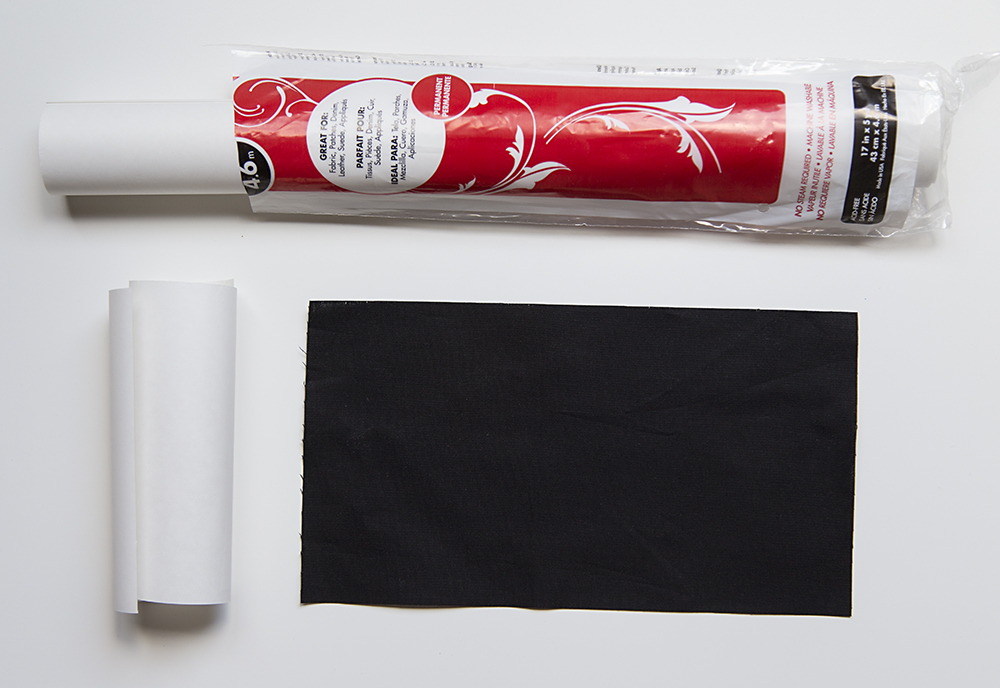
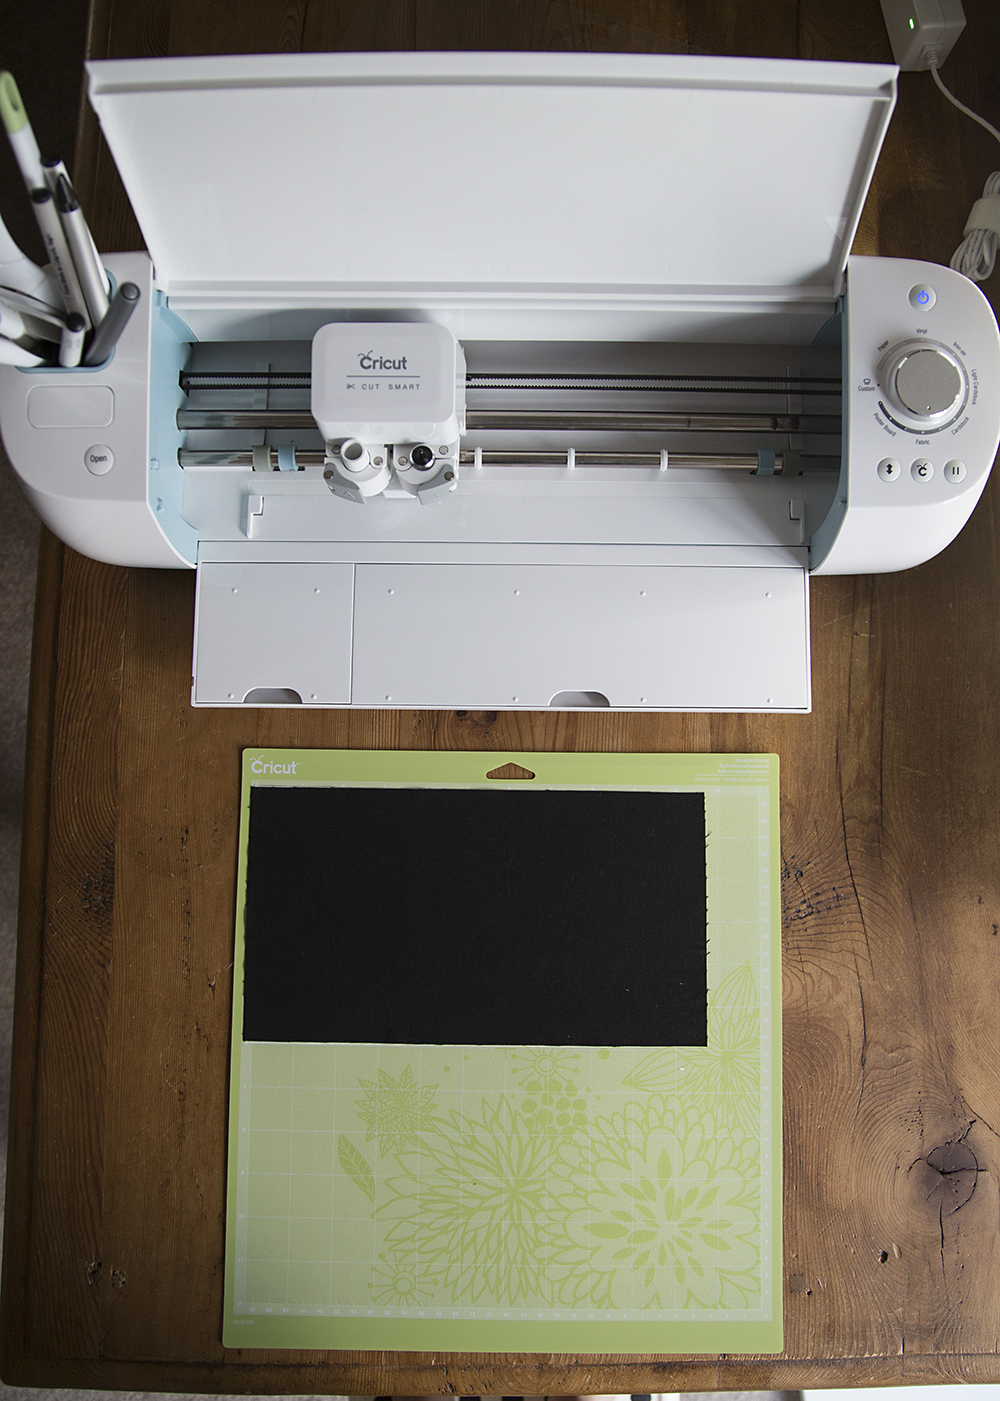
First, I ironed Heat n Bond Ultra Hold to the back of the fabric according to the instructions. Then, leaving the paper on, I stuck it to the mat, firmly pressing down all over. I used a very sticky, brand new green mat. You need a lot of stickiness. If you don't have a new mat handy, I suggest a purple Strong Grip Mat. I plan on buying one to use exclusively for fabric.
Second, I replaced the standard cutting blade with a Deep Cut Blade. Your Cricut comes with instructions on replacing the blade - it's very easy and takes all of 5 seconds.
Third, I turned the dial on my Cricut to Fabric.
Cutting Fabric using a Cricut Explore Air
Then I moved to my computer. I imported the image with my son's name into the Cricut Design Studio. This font is called Pacifico and it worked great. I'd recommend a thicker font for cutting fabric. I clicked "Go" to start the process of connecting to the machine.
Cutting Fabric using a Cricut Explore Air
I verified that I would be cutting on a 12" x 12" mat and clicked "Go" again.
Cutting Fabric using a Cricut Explore Air
I found I needed to customize the pressure settings on the machine. From the below screen, click on that link all the way at the bottom (sort of hidden if you ask me!), "Edit Custom Materials".
Cutting Fabric using a Cricut Explore Air
Click on the word "Fabric". It doesn't look like a link, but it is.
Cutting Fabric using a Cricut Explore Air
When you select it, further information will pop up below it. I set my Cut Pressure to 340 and my Blade Type to Deep Cut. Then click the "Save" link to the right. Then click the "Done" buttom at the bottom.
Cutting Fabric using a Cricut Explore Air
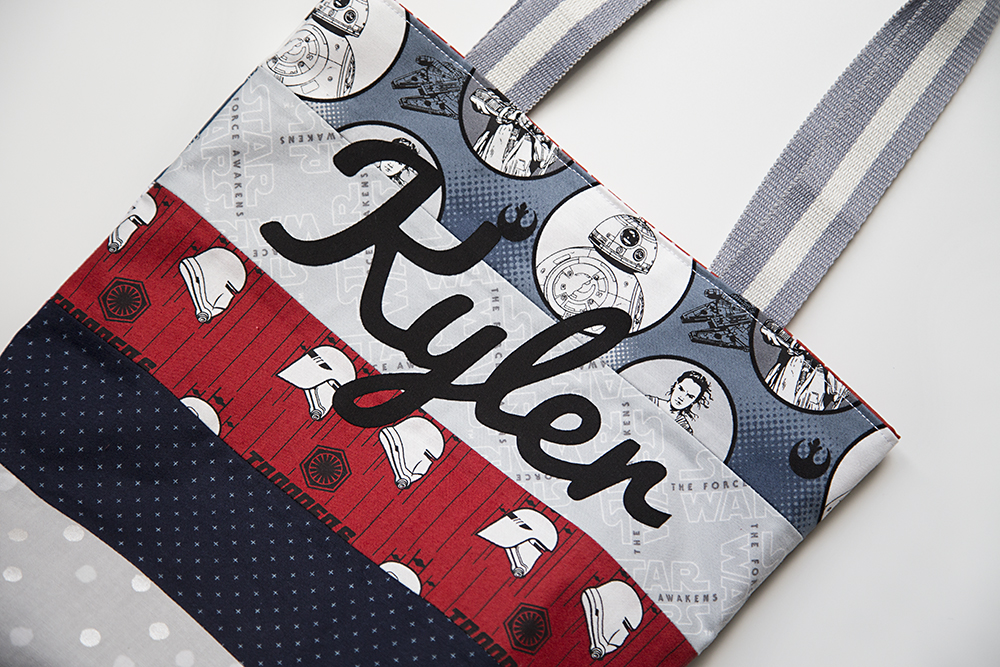
You are all set to cut now. Follow the typical cutting steps of loading your mat and beginning the cutting process. You can see here the finished name that I fused to my son's Elementary Tote.
Cutting Fabric using a Cricut Explore Air
I also cut out some cut orange peel components. Pretty!
Cutting Fabric using a Cricut Explore Air
I made a quick video of the Cricut cutting, so you can see the speed as well.
I'm a bit disappointed that I haven't been successful in cutting fabric without Heat n Bond Ultra Hold on the back. It would really be awesome to cut just plain fabric with nothing adhered to it to stiffen it. But for customizing bags, shirts, onesies, making quilt labels, or cutting custom appliqué for quilts, this is a really cool machine. I hope this helps you explore more ways to have fun with with your Cricut Explore Air!
This posts contains affiliate links.


