Crosses and Losses ~ A Block Tutorial
Crosses and Losses Block Tutorial : Fresh Lemons Quilts
Thank you for all the kind words on my finished Crosses and Losses quilt! I have had a few requests for a pattern or tutorial for this vintage block. I thought I'd whip one up and share it with you today.
Crosses and Losses is a quilt block from the late 1800s and was published in the Ladies Art Company quilt pattern booklets.
Crosses and Losses Quilt Block Tutorial
Finished Size : 8" x 8"
Notes: All seam allowances are 1/4"; HST = Half Square Triangle
Step 1. Cut your fabric.
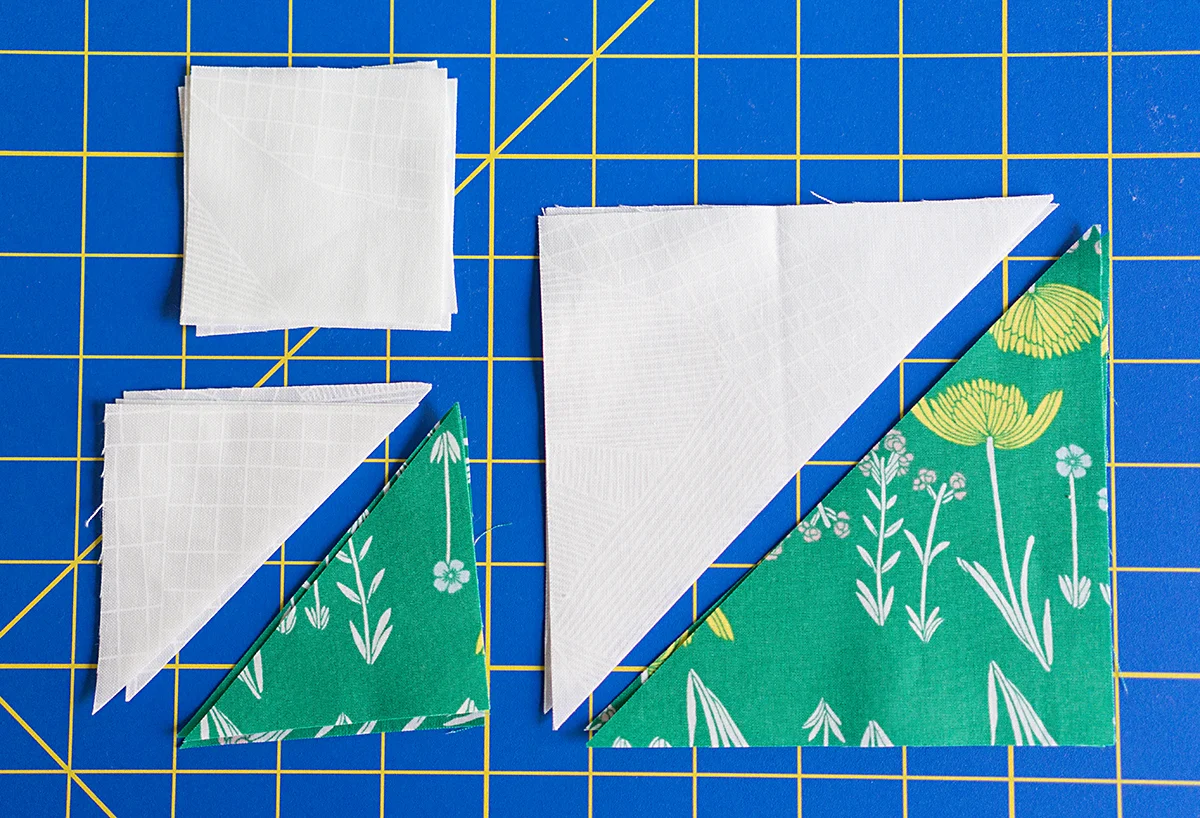
Focal/Print Fabric: Cut (2) 3" x 3" squares; then cut diagonally resulting in (4) HSTs Cut (1) 5" x 5" square; then cut diagonally resulting in (2) HSTs
Background Fabric: Cut (2) 3" x 3" squares; then cut diagonally resulting in (4) HSTs Cut (4) 2-1/2" x 2-1/2" squares Cut (1) 5" x 5" square; then cut diagonally resulting in (2) HSTs
Crosses and Losses Block Tutorial : Fresh Lemons Quilts
Step 2. Pair each of your 3" print HSTs with a 3" background HSTs. Stitch together down the diagonal edge of the fabric. Press your seams as desired. I pressed mine open.
Crosses and Losses Block Tutorial : Fresh Lemons Quilts
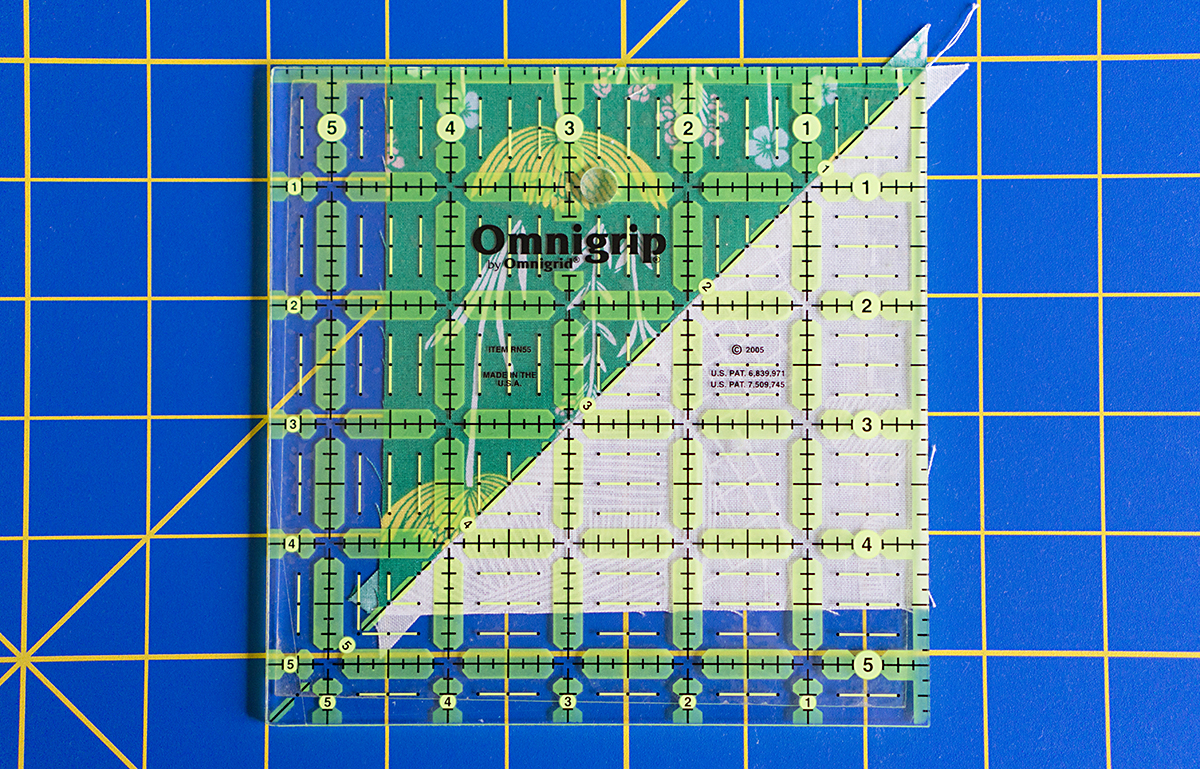
Step 3. Trim your resulting blocks to 2-1/2" x 2-1/2".
Crosses and Losses Block Tutorial : Fresh Lemons Quilts
Crosses and Losses Block Tutorial : Fresh Lemons Quilts
Step 4. Pair each of your 5" print HSTs with a 5" background HSTs. Stitch together down the diagonal edge of the fabric. Press your seams as desired. I pressed mine open.
Crosses and Losses Block Tutorial : Fresh Lemons Quilts
Step 5. Trim your resulting blocks to 4-1/2" x 4-1/2".
Crosses and Losses Block Tutorial : Fresh Lemons Quilts
Crosses and Losses Block Tutorial : Fresh Lemons Quilts
Step 6. Lay out your trimmed squares and your (4) 2-1/2" x 2-1/2" background squares, as shown.
Crosses and Losses Block Tutorial : Fresh Lemons Quilts
Step 7. Stitch the 2-1/2" x 2-1/2" squares into rows, resulting in 2-1/2" x 4-1/2" rectangles as shown. Press your seams towards the background squares.
Crosses and Losses Block Tutorial : Fresh Lemons Quilts
Step 8. Stitch your 2-1/2" x 4-1/2" rectangles together, as shown. Press your seams as desired. I pressed mine open.
Crosses and Losses Block Tutorial : Fresh Lemons Quilts
Step 9. Stitch your top (2) block segments together, resulting in (2) large rectangles.
Crosses and Losses Block Tutorial : Fresh Lemons Quilts
Step 10. Stitch your (2) large rectangles together.
Crosses and Losses Block Tutorial : Fresh Lemons Quilts
Congratulations! You've made your Crosses and Losses block!


